

GroupTiles for SharePoint Add-in Support
Instructions
Download and Install GroupTiles Add-in
Step 1: Purchase and Download the Add-in: (Requires Tenant or Farm Admin rights)
-
Go to Microsoft AppSource.
-
Sign in using your Microsoft Account.
-
Select “Add” from the catalog to add to your O365 Tenant or SharePoint Farm.
To Add the Add-in
Step 2: Go to the root site and add the Add-in from the Site Contents area, just as you would any other Add-in (Requires Site Collection Admin rights).
-
Navigate to Site Contents.
-
Select “Add an App”.
-
Navigate to the icon marked “GroupTiles by SmartData” and click on it to add the dd-in to your Site.
-
Click "trust this app."
Add the Add-in to a Page
-
Edit the page to add the Add-in as a web part.

Navigate to Site Contents.

Click on 'add an app' and select it from your Add-in library.
To Use the Add-in:
Navigate to the Site Collection page. GroupTiles by SmartData Add-in uses Search to automatically generate the most recent version of the Site Collection.
Key Features:
-
Security trimmed: Display of site will be security trimmed and will only display sites where the current user has a minimum of ‘View’ permission.
-
Touch-friendly Navigation: GroupTiles display provides ‘Touch-friendly’ Tile images as navigation by providing hyperlinks to the sites that are shown.
-
Site Usage Information: Hover over a Tile image to display the site 'Description’ of that Group or Team site.
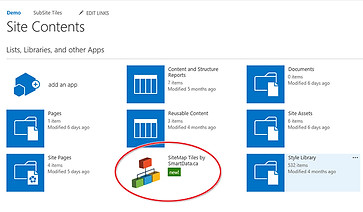
Navigate to the icon marked “Group Tiles by SmartData” and click on it to add the
Add-in to your Site.

Hover over a Tile image to display the 'Description' of that Team or Group Site.